Dissolve the yeast and sourdough in a little water.
Add flour, rye flour, salt and honey and stir for 7 minutes to a homogeneous mass.
The water is given as the maximum amount. I would first add 350-400 ml (depending on the composition of the sourdough) and then pour in more (max. 520 ml) until the dough is very sticky after stirring for 6 minutes. It should be a sticky lump so that it is moist enough, but also retains its round shape when baking and does not flow too moist as a flat cake.
Let the dough rise for 20 minutes, then fold the dough from the sides of the bowl into the middle. Let rise again for 20 minutes. Repeat folding two more times. The dough is soft and a little sticky (with 520 ml of water the dough sticks properly).
Alternatively:
- 2 to 3 times in the steamer (automatic-> special-> let yeast rise (20min))
- hammer in from the edge after each operation
Now let the dough rise overnight at a cool room temperature (at 15 ° C - 16 ° C e.g. in the cellar).
The dough should have doubled in size (takes 8-12 hours, depending on the room temperature). Alternatively, put the dough in the refrigerator for 24 hours. (Warmer is faster, but this step should not be shortened for a more digestible result.)
The next day, use a baking tray to heat the oven to 250 ° C.
Moisten a small 2 liter (metal) bowl vigorously. A little water can stand on the floor. Using a wet spatula or wet hands, place the dough in the bowl and fold again from the sides of the bowl in the middle to build up a little tension.
Turn the bread out of the bowl directly onto the hot baking sheet,
Bake for a total of 40 - 55 minutes at 240 ° C. Reduce to 220 ° C after 25 - 20 min. (If you do not have a climate cooker, add a heat-resistant container and 4 - 5 ice cubes to the oven).
Alternatively:
- Moisture plus (heat up) 240 ° C; 2 - 3 bursts of steam;
- 1st burst of steam after insertion, 2nd burst of steam after 10 minutes, 3rd burst of steam 5 minutes before removal.
Brush the bread with water 10 minutes before the end of baking to get a shiny crust. After the bread comes out of the oven, you can immediately wipe it again with a wet brush with water.
Hints:
A long cooking time (either at 15 ° C or in the refrigerator) and the sourdough ensure that this bread has a good aroma. The sourdough is put into the bread unlined and doesn’t make it grow, but rather gives it a very good taste. You can bake the bread without the sourdough, but then you have to make small sacrifices in terms of taste. (I personally use sourdough that I buy - you can make it yourself and you will find several recipes here).
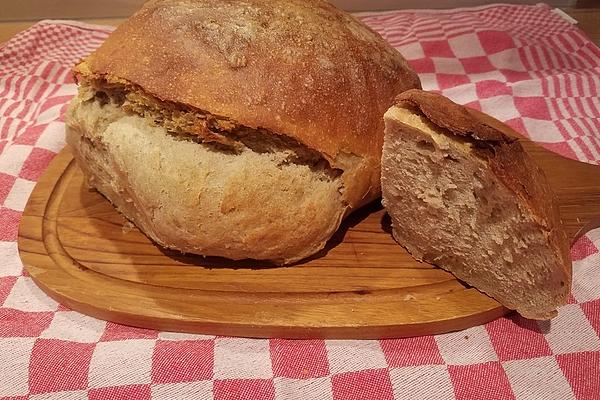
The maximum amount is given for the amount of water in the dough. Less water results in a soft dough that is still manageable for advanced beginners. But it can be that a knuckle forms during baking, i.e. the dough tears a little on one side. But that is a purely visual flaw. With 560 ml of water, handling becomes more difficult, as the dough sticks more strongly and even flows, but the bread that is put into it gets its typical round shape. The shape does not change the taste, which is excellent with both variants! The crust of this bread becomes fine and crispy and opens up nicely when it cools, the crumb is soft and fine to medium-pored. The inside is nice and juicy and you can hear it crispy on the outside.
The bread can best be stored unpacked (standing on the cut side) for up to 3 days.