Real Kiev Cake
by Editorial Staff
Kyiv cake is a sweet symbol of the capital of Ukraine. He found his fans a long time ago, so I offer the right recipe for making a real Kyiv cake at home from the right products!

Cook: 6 hour
Servings: 7-10
 Ingredients
- Eggs – 8 Pieces
- Lemon juice – 0.5 Teaspoons
- Sugar – 200 Grams
- Nuts – 2 Glasses
- Potato starch – 4 tbsp
- Oil – 200 Grams (cream 1)
- Condensed milk – 200 grams (cream 1)
- Oil – 300 Grams (cream 2)
- Powdered sugar – 130 Grams (cream 2)
- Cocoa – 3 Art. spoons (cream 2)
- Vanilla – 1 Pinch
Directions
- Dry the nuts in a heavy-bottomed pan or oven. But they shouldn’t be fried. Then grind them into coarse crumbs with a blender.

- Eggs should be taken chilled. Add a pinch of salt to the 4 egg whites, beat until stiff. Then pour in 0.5 teaspoon of lemon juice and add sugar (100 grams) in portions, it should completely dissolve.
- In the whipped protein, send half the cooled nuts and 2 tbsp of starch. Stir slowly with a silicone or wooden spatula in one direction.
- Line a baking dish with parchment and place the egg white in the center. Gently smooth out the entire mass so that it is loose against the edges.
- Put the bizet in a cold oven, turn on 100-150 degrees (the stronger the oven, the lower the degrees). It is baked from 2 to 2.5 hours on convection. Do not close the oven door, leave a gap. After baking for an hour, do not remove the cake from the oven.
- To prepare the first cream, beat the soft butter with a mixer until it brightens and becomes airy. Add condensed milk in several steps, whisking with a mixer.
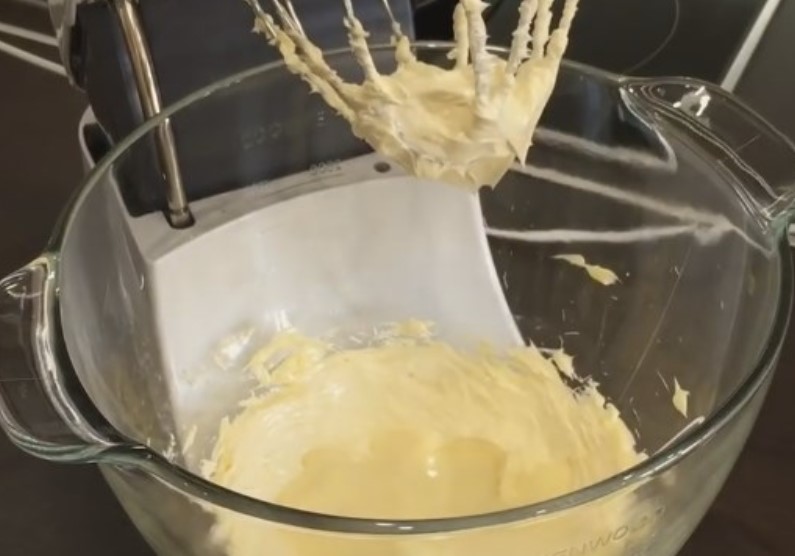
- For the second cream, also beat the soft butter for 5 minutes until it becomes fluffy and light.
- Then add vanilla and add powdered sugar in parts, whisking everything with a mixer.
- Divide the finished cream into several parts to decorate with white, colored and chocolate colors. Sift cocoa into some of the cream, mix with a mixer. Separate another part and mix with red, green and blue dyes.
- The meringue should stand for 5-6 hours to dry completely. Cut off the top layer with a knife to get a flat surface. And grind the crumbs with your hands, they will go to decorate the sides of the cake.
- Grease a dish for a cake with cream with condensed milk so that the cake does not “ride”.
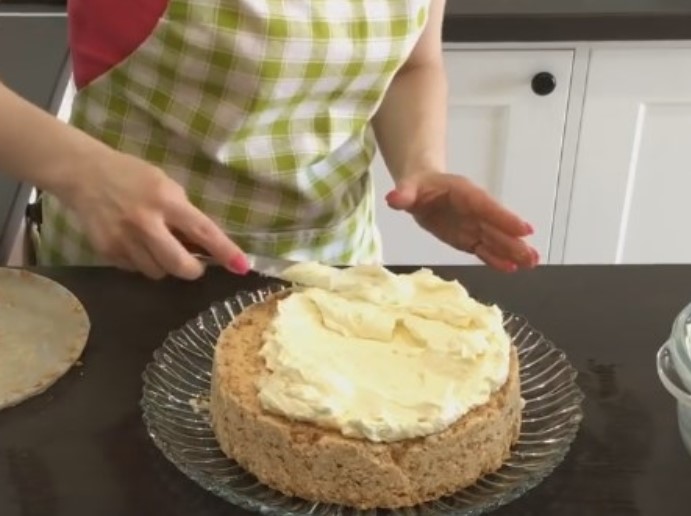
- Place the first cake, lay out all the cream with condensed milk in an even layer. Put the second cake on it, press lightly to even out the layer of cream.
- Brush the second crust and all sides of the cake with chocolate cream. Sprinkle the sides with crumbs. Put the rest of the chocolate cream in a pastry bag, decorate the cake around the peri.
- Finish the cake with colored and white cream. What a beauty!


Bon appetit!


About Editorial Staff
Comments for "Real Kiev Cake"
Get FREE Recipe Gifts now. Or latest free cooktops from our best collections.
Disable Ad block to get all the secrets. Once done, hit any button below