Pita is unleavened, unleavened cakes in water that are baked in a pan, and inside they are a pocket for filling. You can put meat, vegetables, sauces in the pocket. They can also be eaten like bread. The flatbreads taste very similar to homemade thin lavash. The preparation is very simple, and all the ingredients are available and always in the kitchen.
Summary
| Prep Time | 30 mins |
| Cook Time | 10 mins |
| Total Time | 40 mins |
| Course | Dessert |
| Servings (Default: 8) |
 Ingredients
- Flour – 350 g + 10-20 g for blistering
- Salt – 1 teaspoon
- Vegetable oil – 2 tbsp
- Hot water – 200 ml

Instructions
- Sift the flour. Add salt to hot water and stir. Pour hot water into the flour, add vegetable oil.
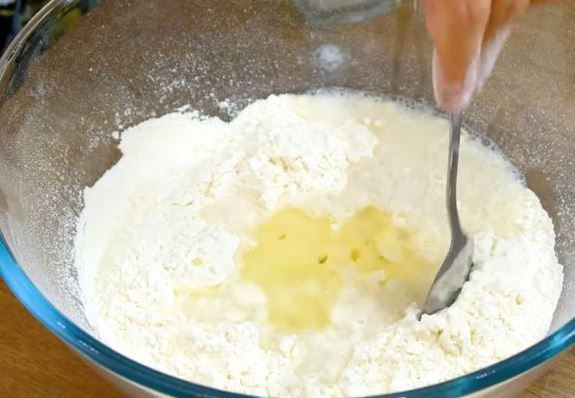
- Knead the dough with a spoon first. Then, when the dough is no longer so hot, knead with your hands for a minute. Round the dough, place in a bag, and let rest for 20 minutes.
- Put the dough on a well-floured surface, knead a little and divide into 8 parts (70 g each). Roll each part of the dough into a ball, cover, and rest for 5-10 minutes.
- Sprinkle the work surface with flour or grease with vegetable oil so that the dough does not stick. If the dough breaks or sticks, then during baking all the air will come out through the holes, and the cavity inside will not work. Roll the ball of dough into a cake with a diameter of 15-16 cm. Try to make the form necessarily round, so it rises better when baking, forming a pocket inside.
- Place the tortilla in a dry preheated skillet and fry on one side until golden brown. Turn over, fry again until golden brown. A pocket is already starting to form. Once again, turn the cake over to the side from which you began to fry, and now you will see how it inflates right before your eyes. After 20 seconds, turn it over again, the cake will go down, this is normal. Fry the tortilla for another 20-30 seconds.
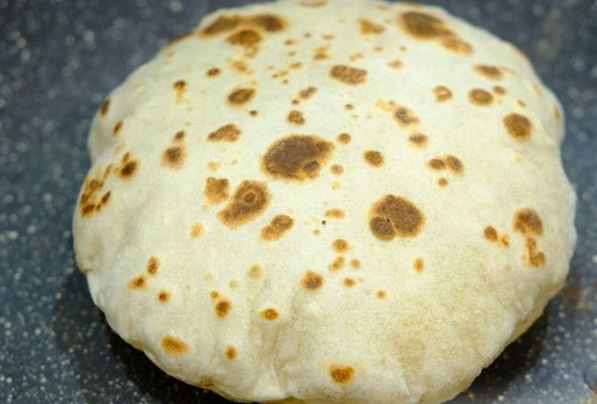
- The pita cakes are ready. You can put absolutely any filling inside.


Bon Appetit!


About Editorial Staff
The Boss Kitchen editorial staff oversees content review, fact-checking, and recipe verification across the site. Published articles pass through the editorial team before going live, ensuring ingredient lists, techniques, cooking times, and nutritional claims hold up in a home kitchen. The team coordinates contributions across the site writers, handles reader corrections, and maintains consistency in measurement conventions, safety guidance, and dietary labeling. Posts under this byline typically represent team-reviewed reference material, site announcements, or editorial roundups rather than individual-author features, and they are held to the same sourcing standards as bylined recipe and product coverage.
Get FREE Recipe Gifts now. Or latest free cooktops from our best collections.
Disable Ad block to get all the secrets. Once done, hit any button below